1. Project Setup
1-1. Create a Project
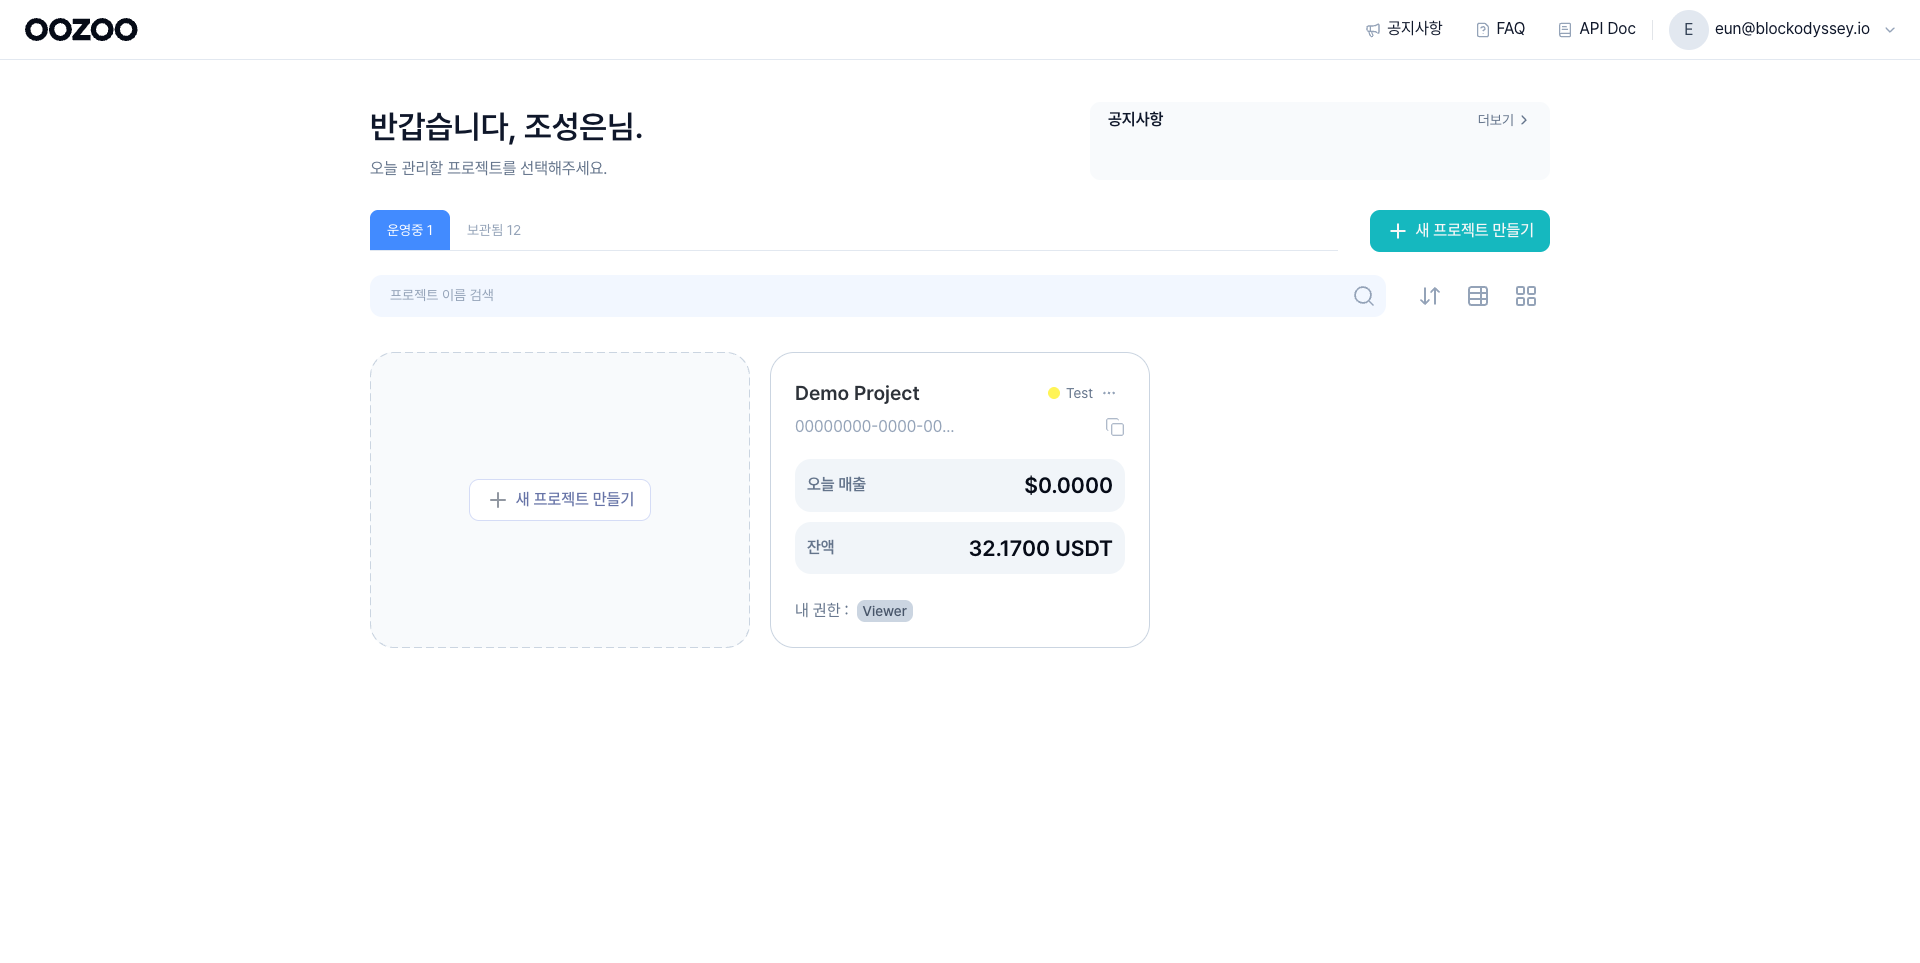
Log in to the Merchant Dashboard and click 새 프로젝트 만들기 (Create New Project).
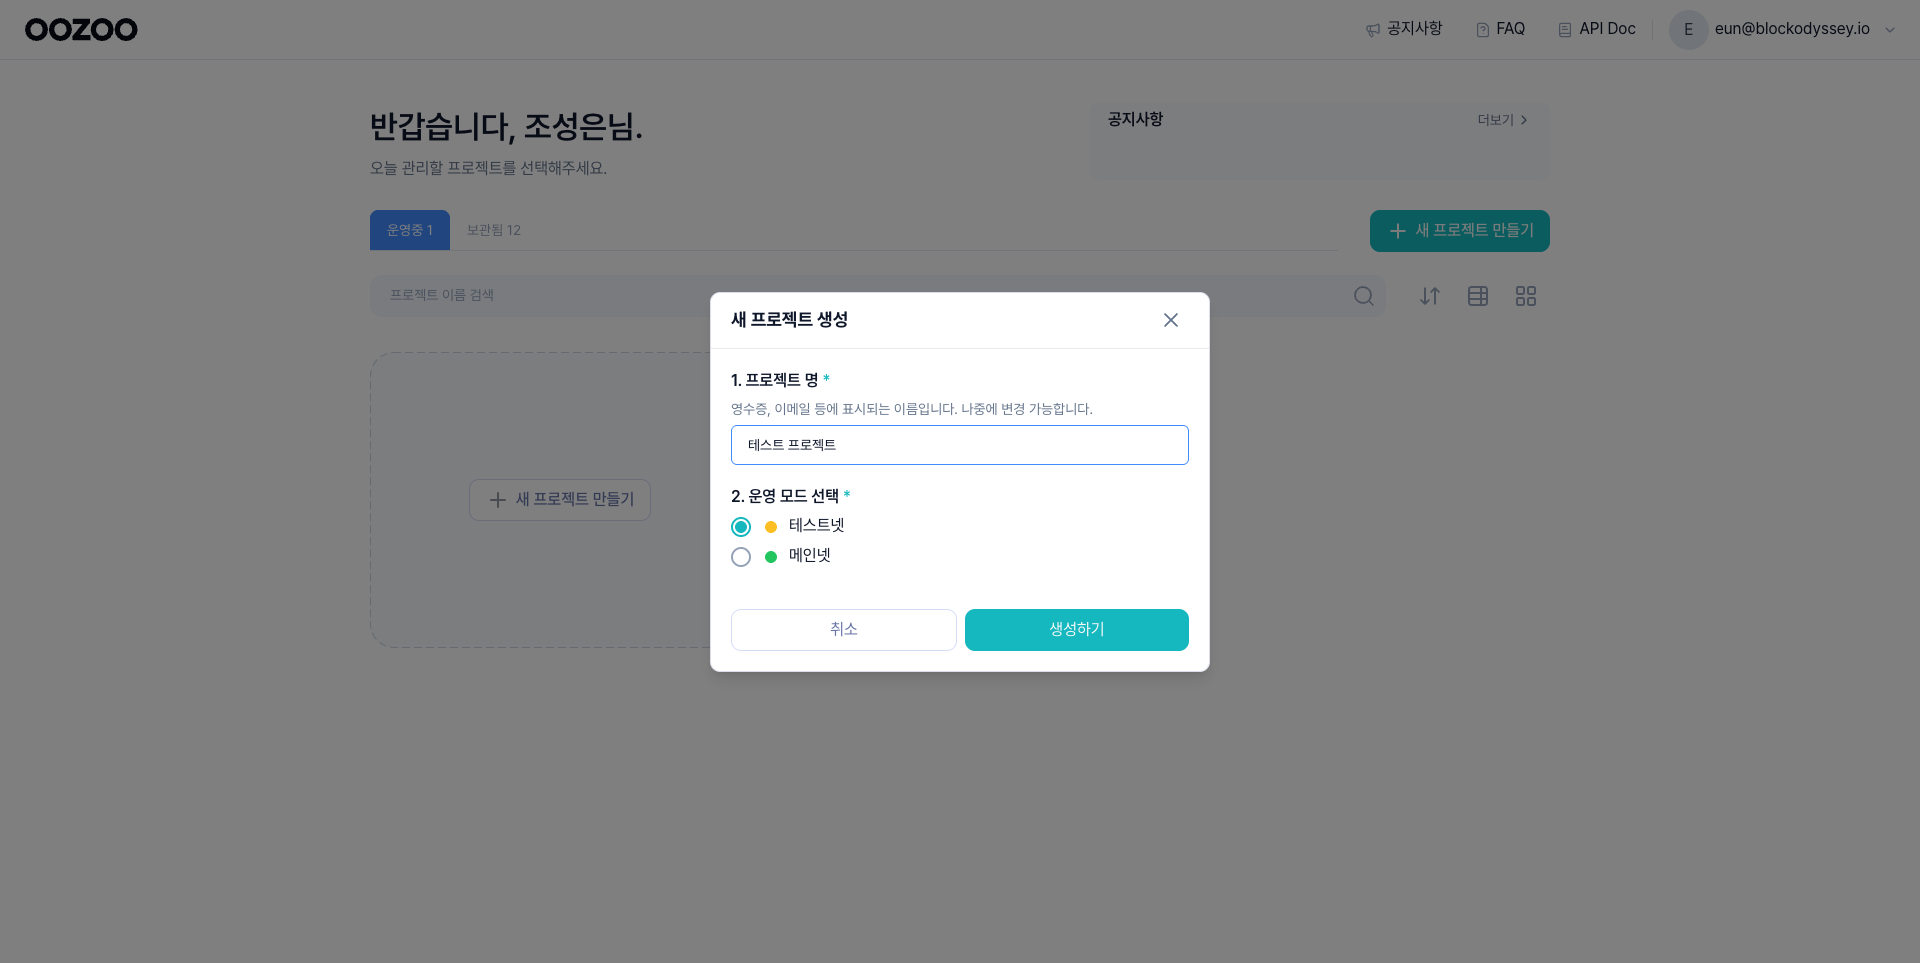
Enter a project name and select Testnet mode → 생성하기 (Create).
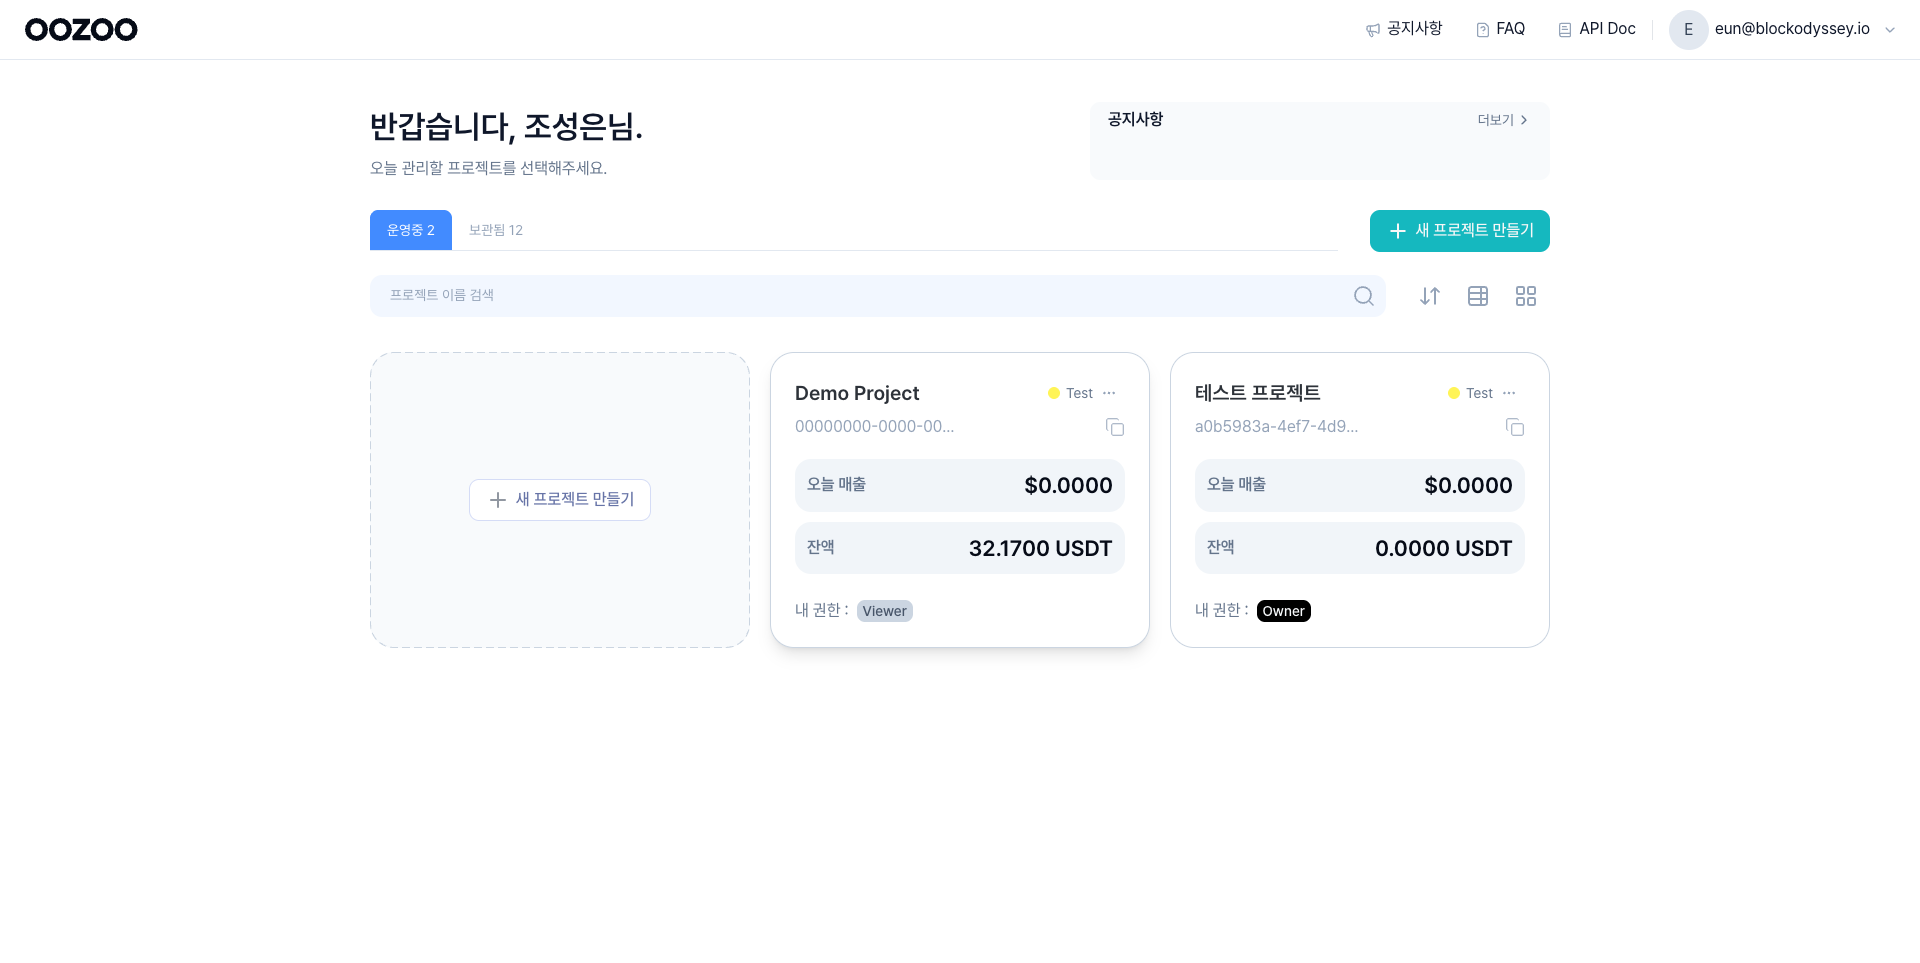
The new project appears as a card with Owner permission.
1-2. Create the Wallet
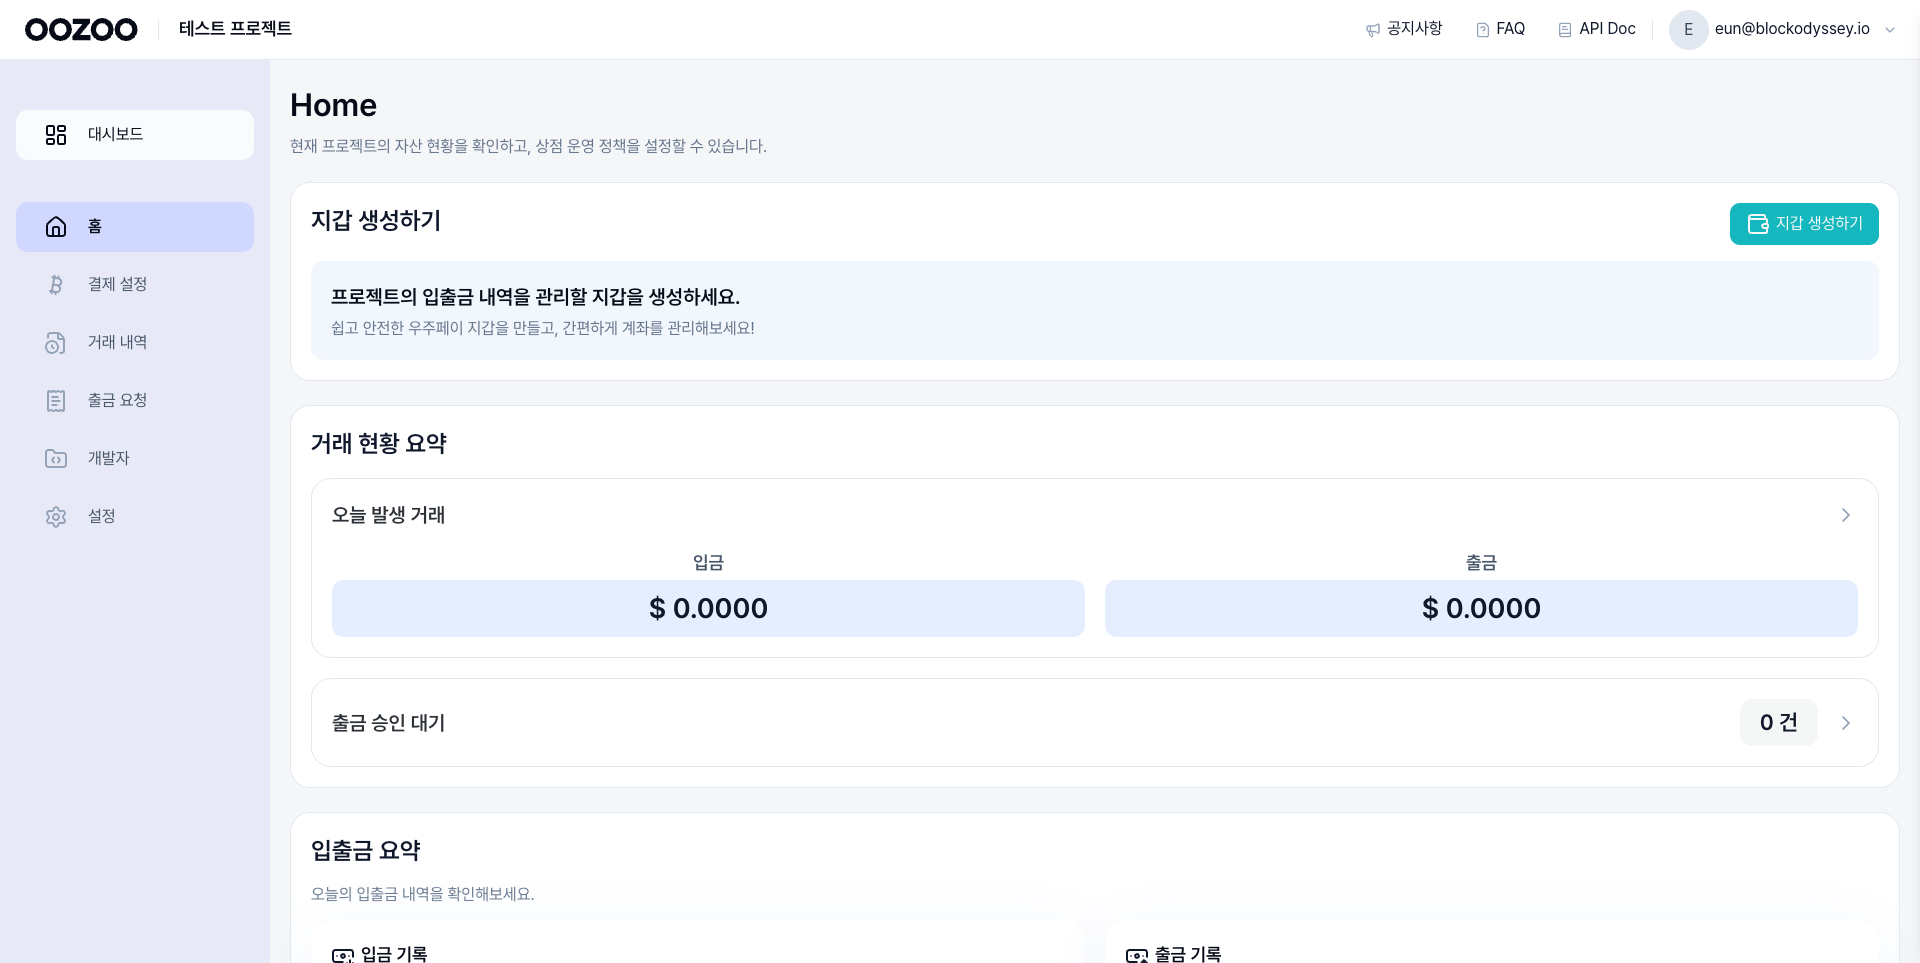
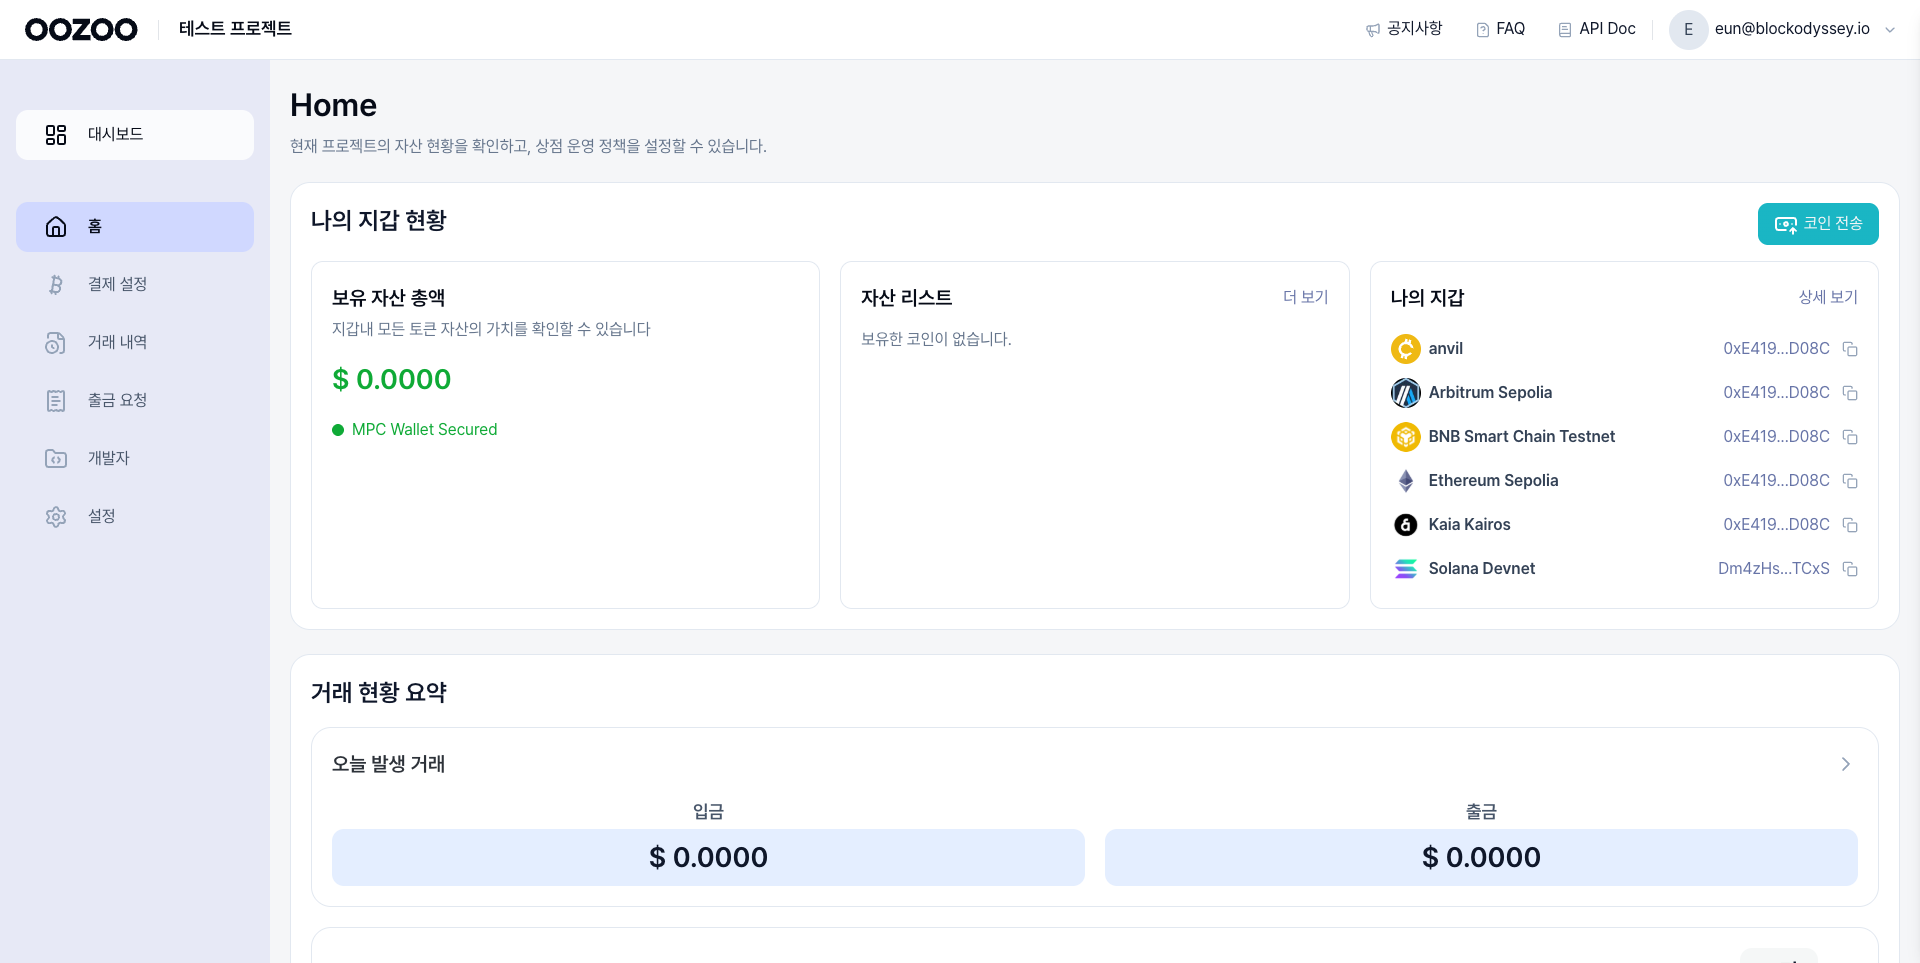
Click into the project → from the home screen click 지갑 생성하기 (Create Wallet).
All testnet wallets are provisioned at once (4 EVM chains + Solana SVM + Anvil).
1-3. Issue an API Key
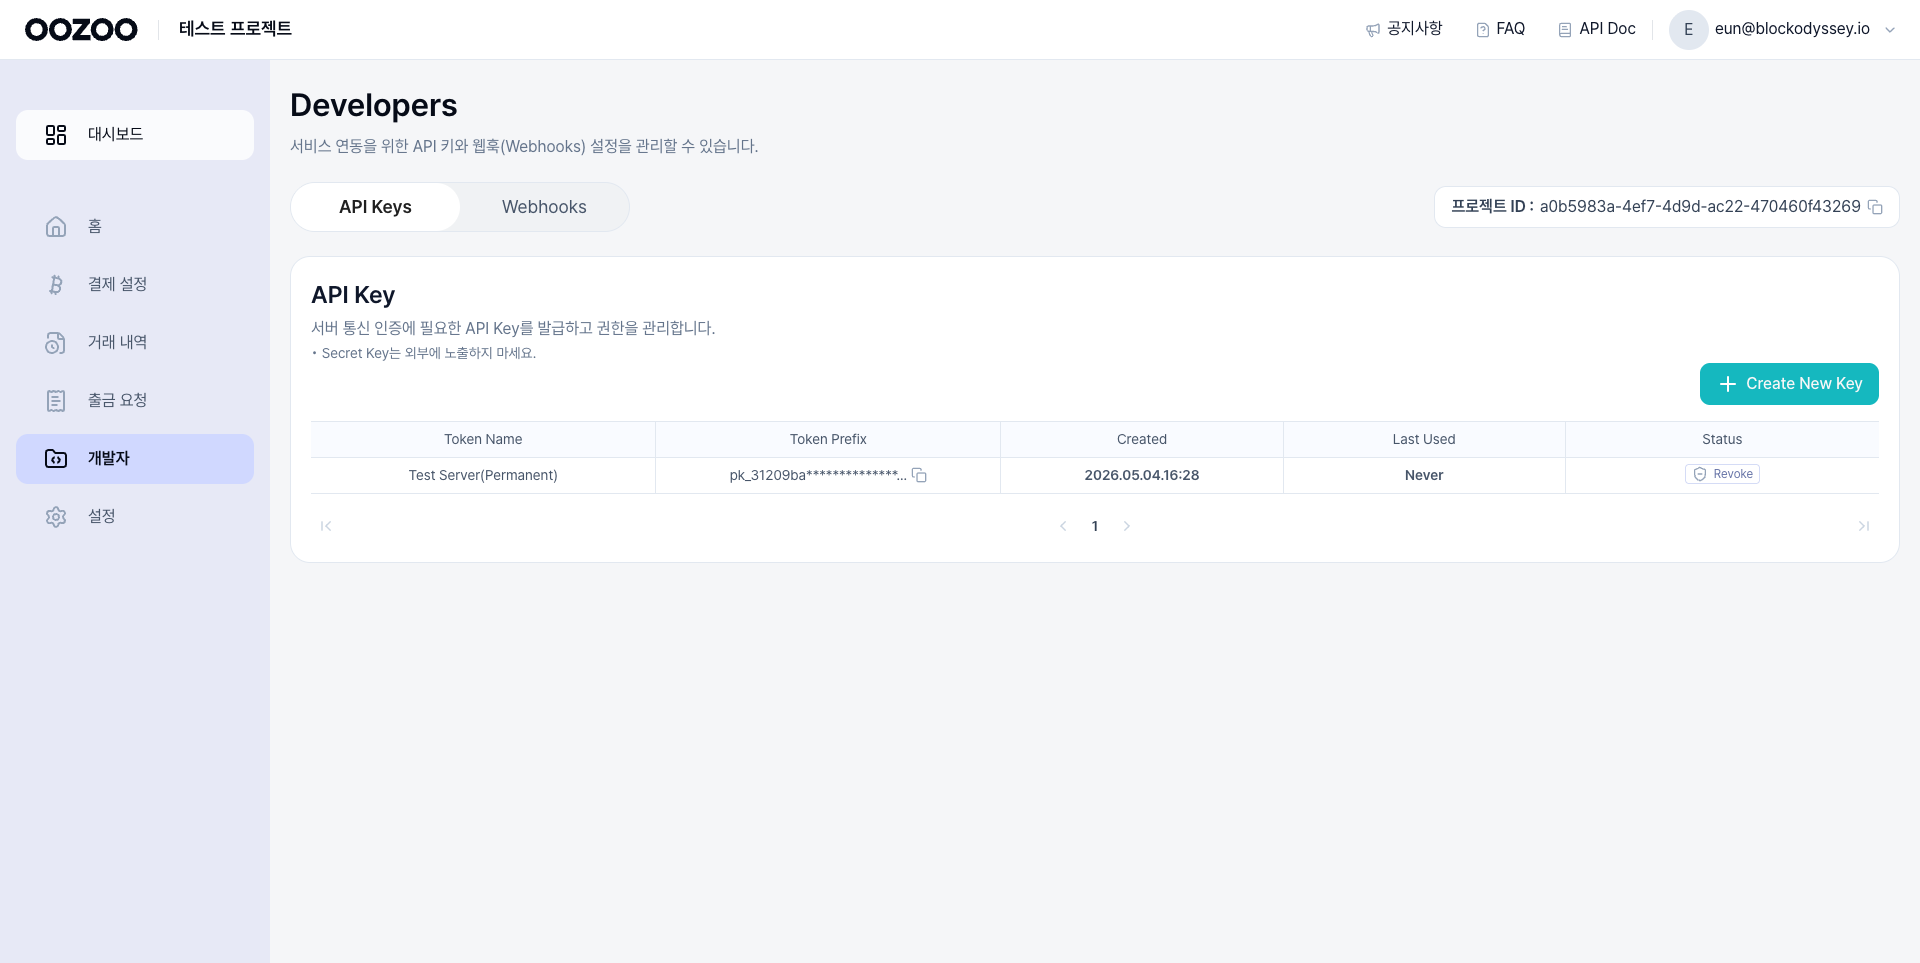
Sidebar → 개발자 (Developers) → Create New Key.
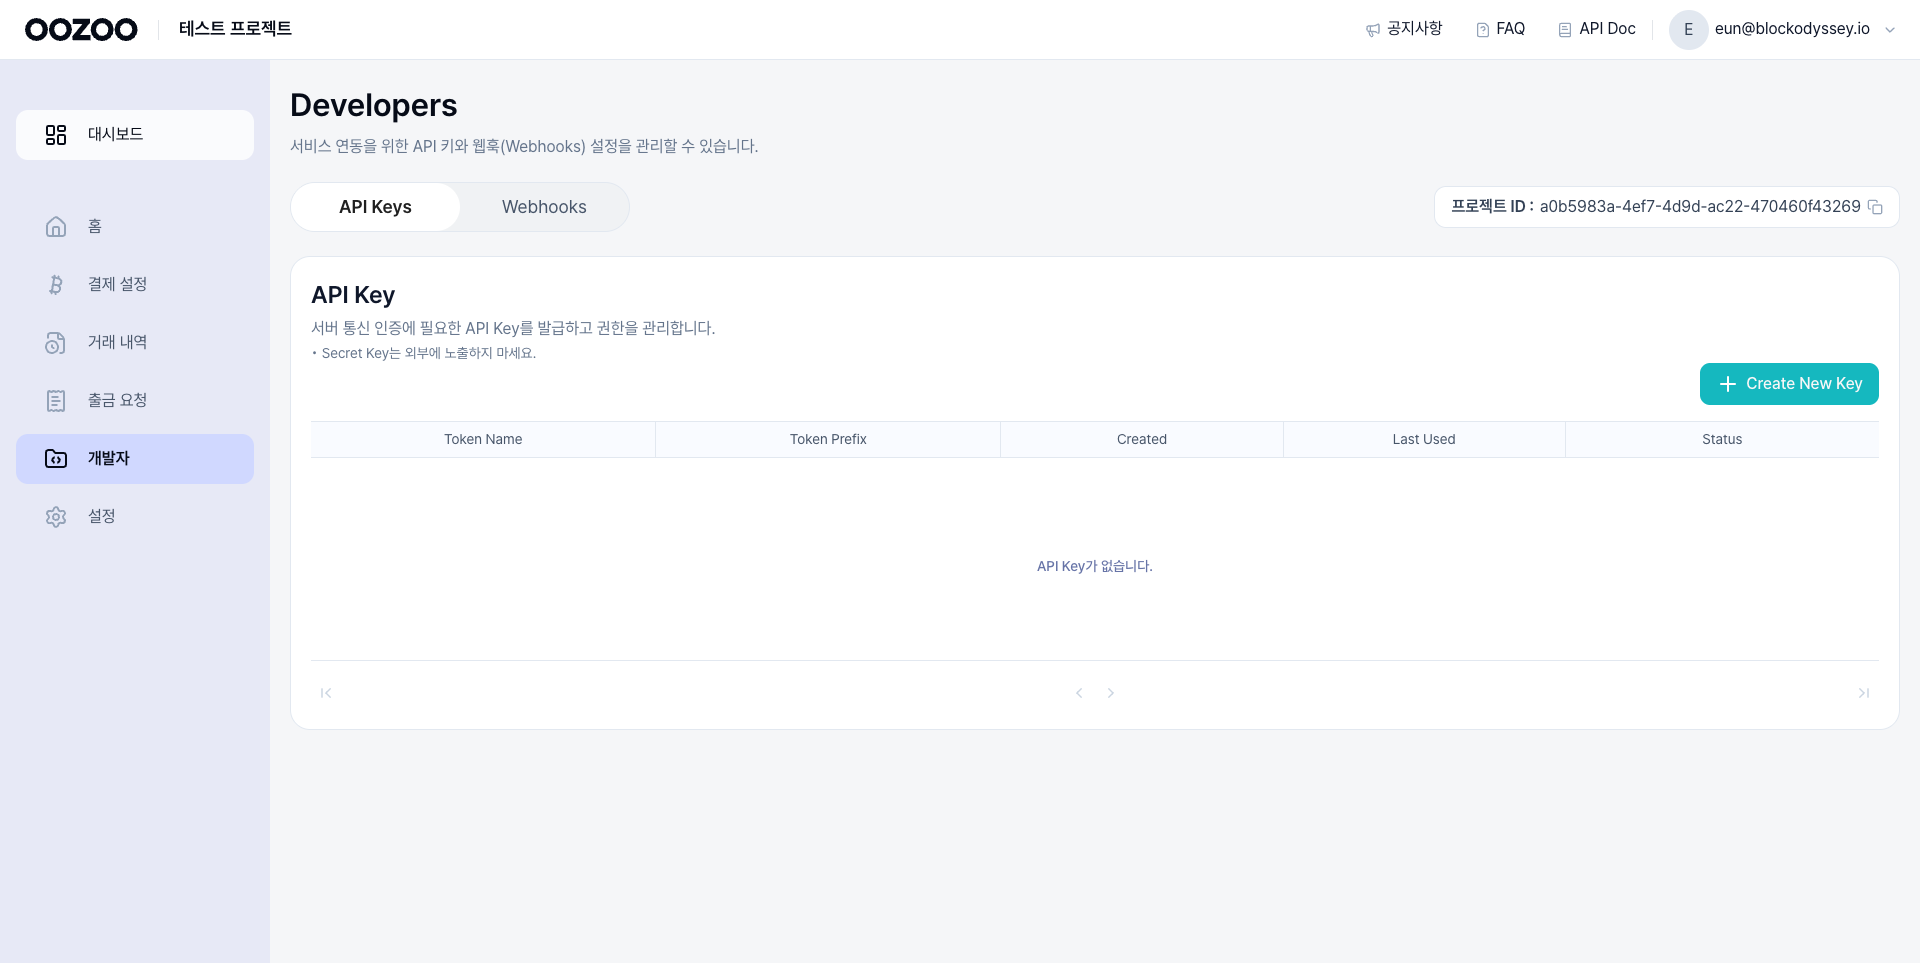
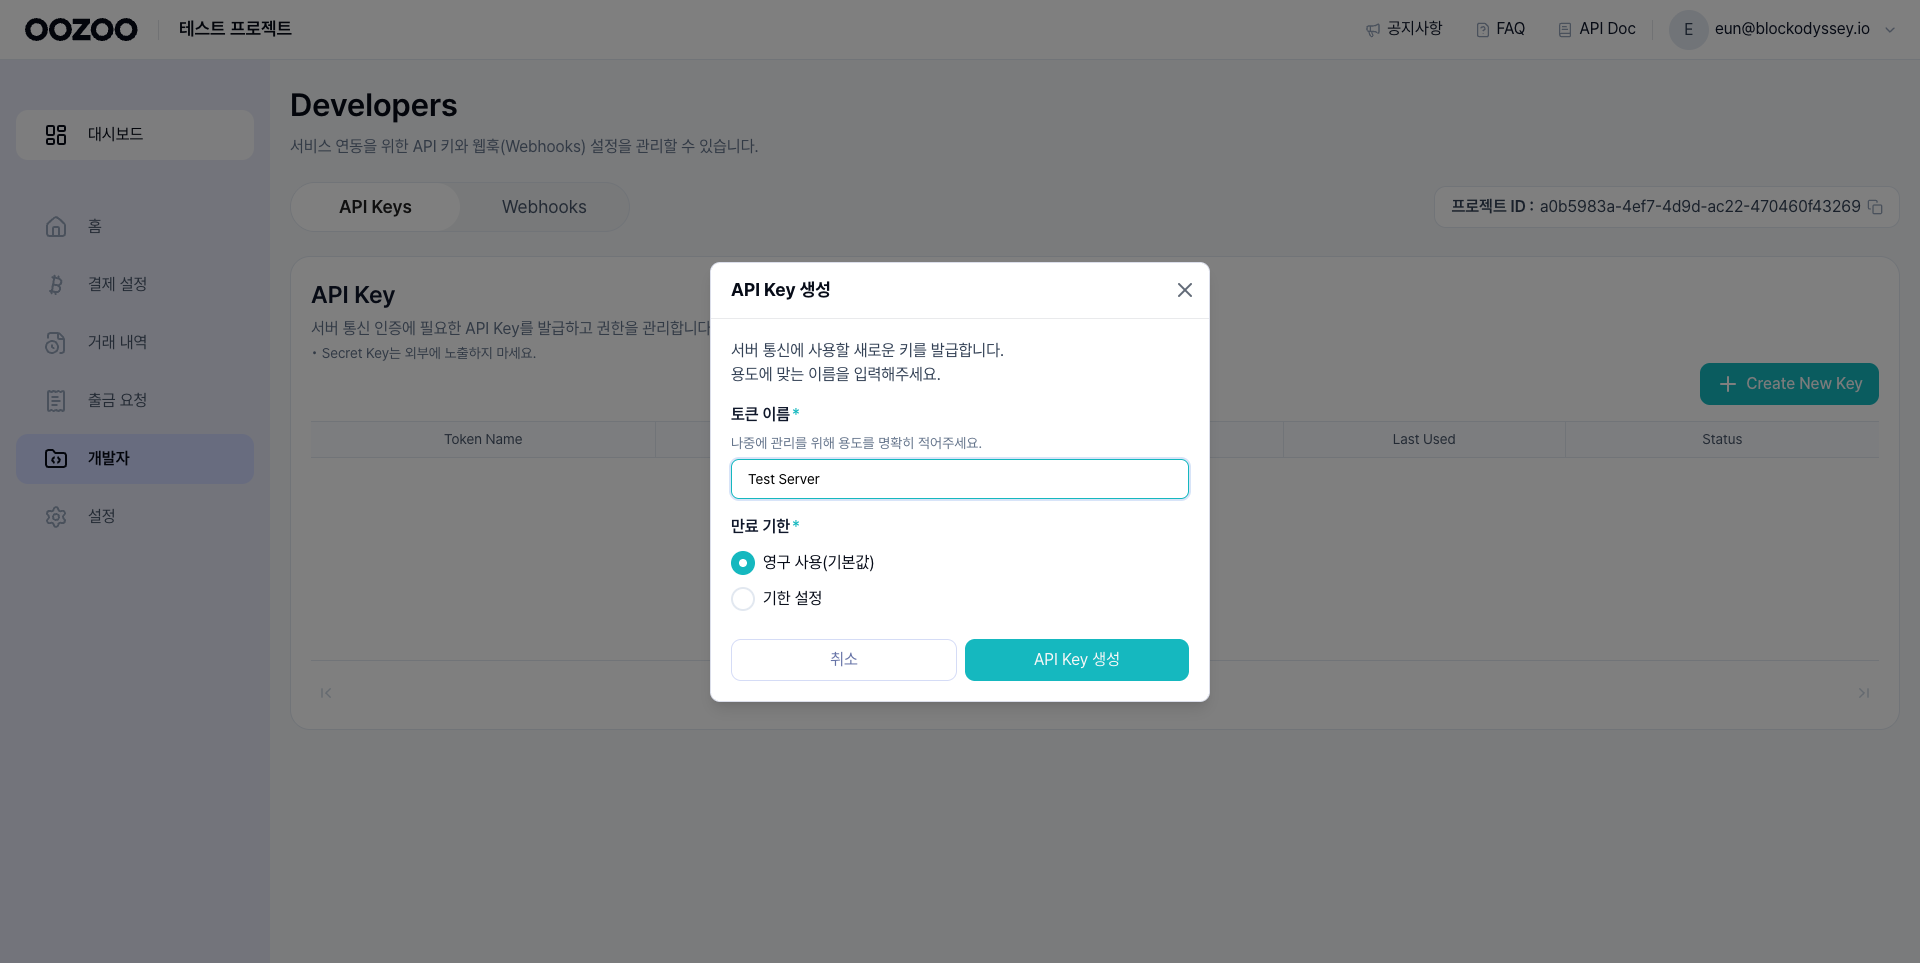
Enter a token name + expiry → API Key 생성 (Create API Key).
The Secret Key is shown only once — copy and store it safely.
- Client Key (
pk_...): used in the browser - Secret Key (
sk_...): server-side only
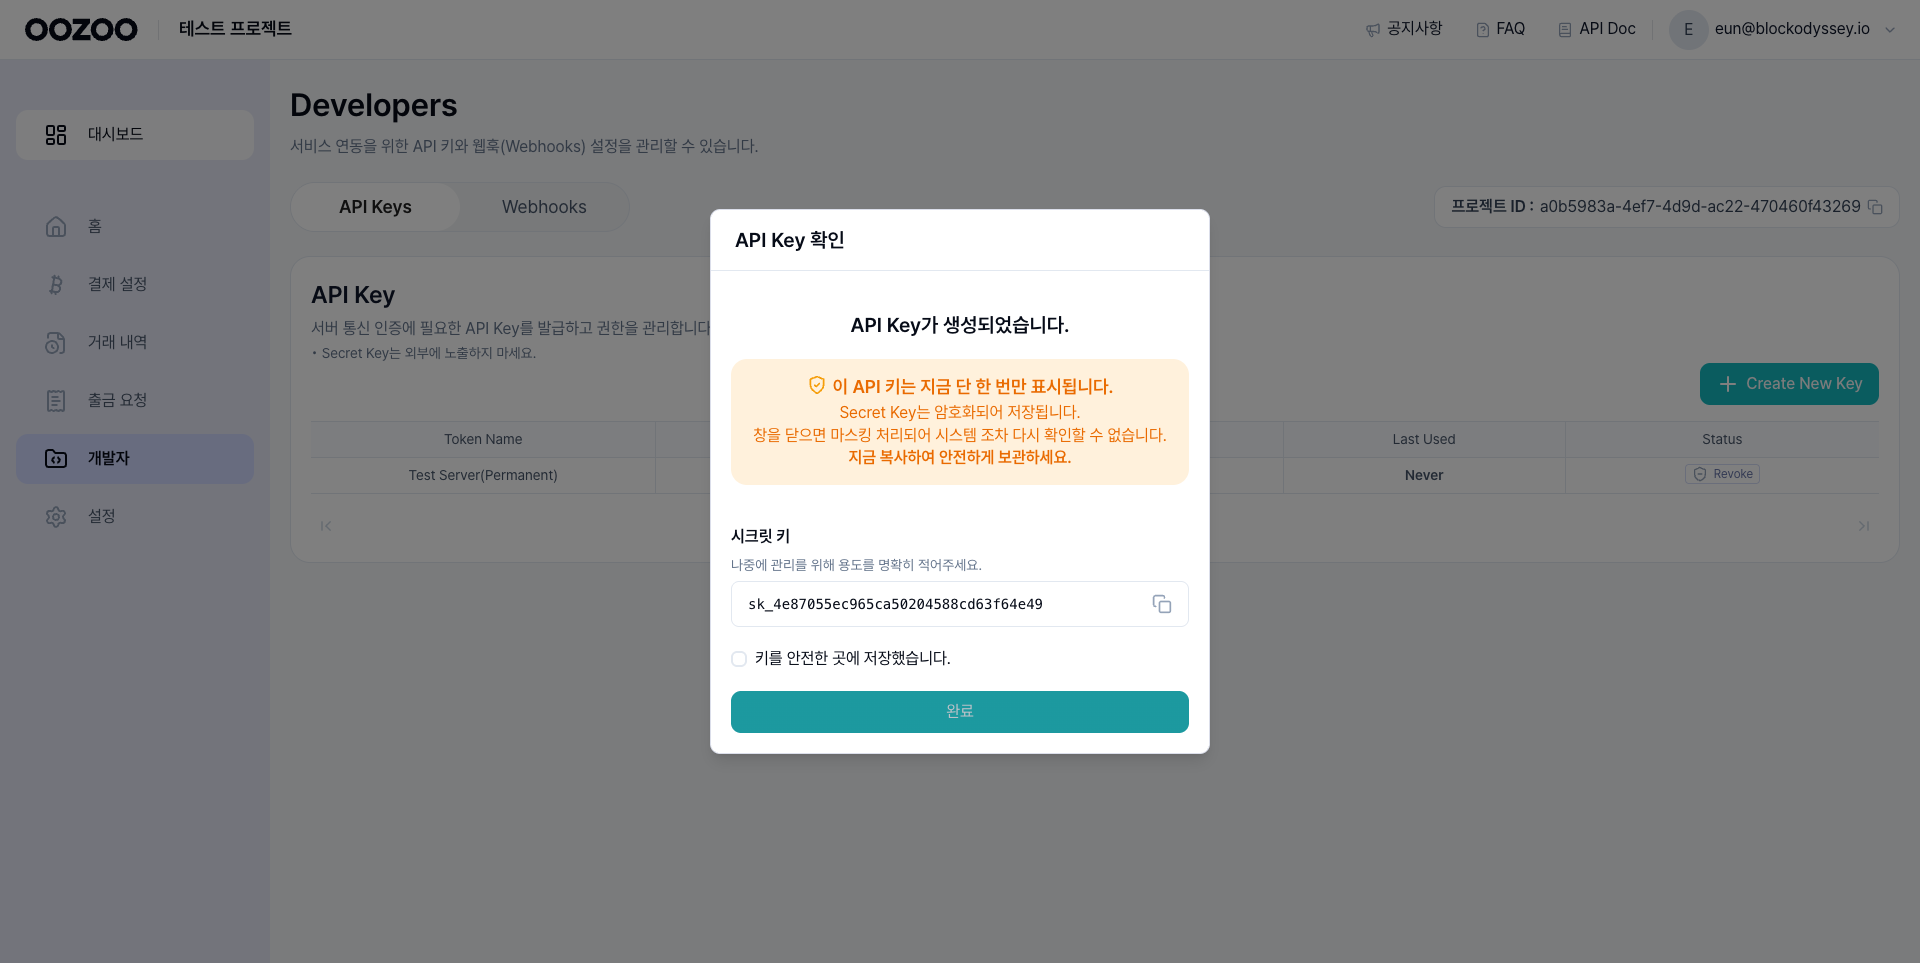
The issued key appears in the list with the secret masked.
1-4. Register a Webhook URL
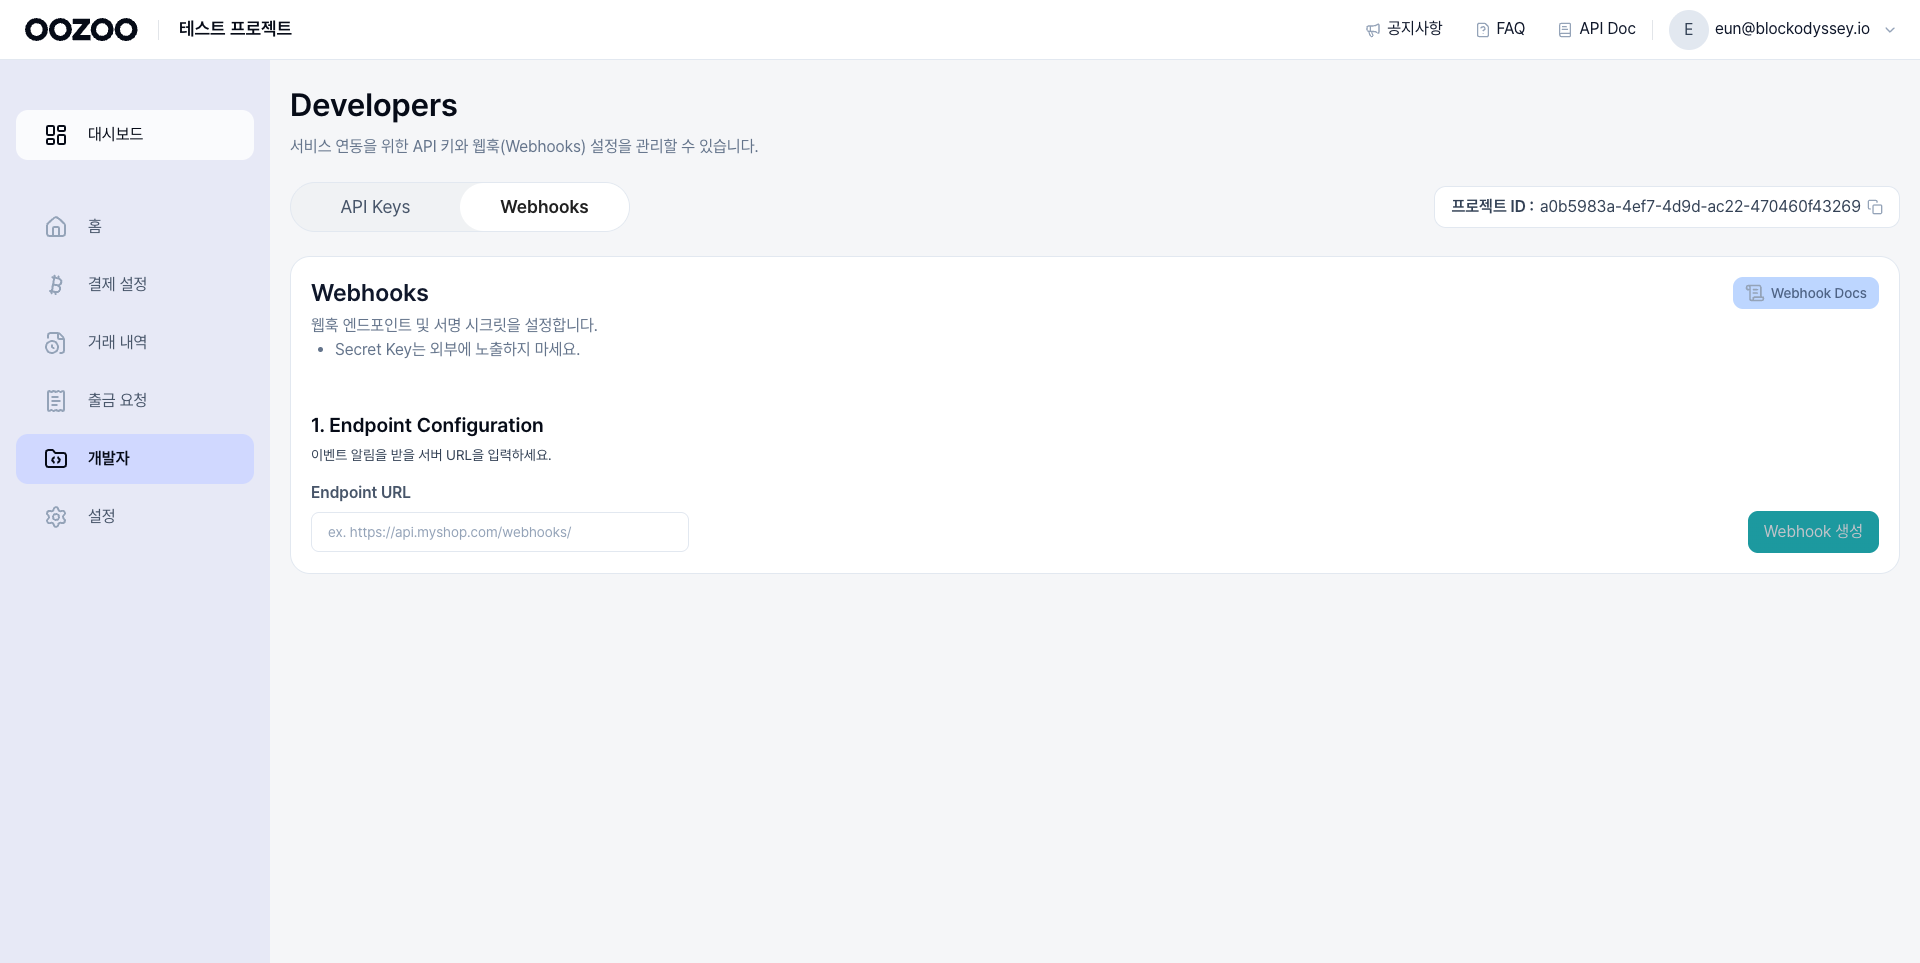
On the same page switch to the Webhooks tab → enter your endpoint URL → Webhook 생성 (Create).
1-5. Verify / Toggle Payment Tokens
Sidebar → 결제 설정 (Payment Setting) → check enabled tokens for deposit/withdrawal. By default all testnet tokens are active.
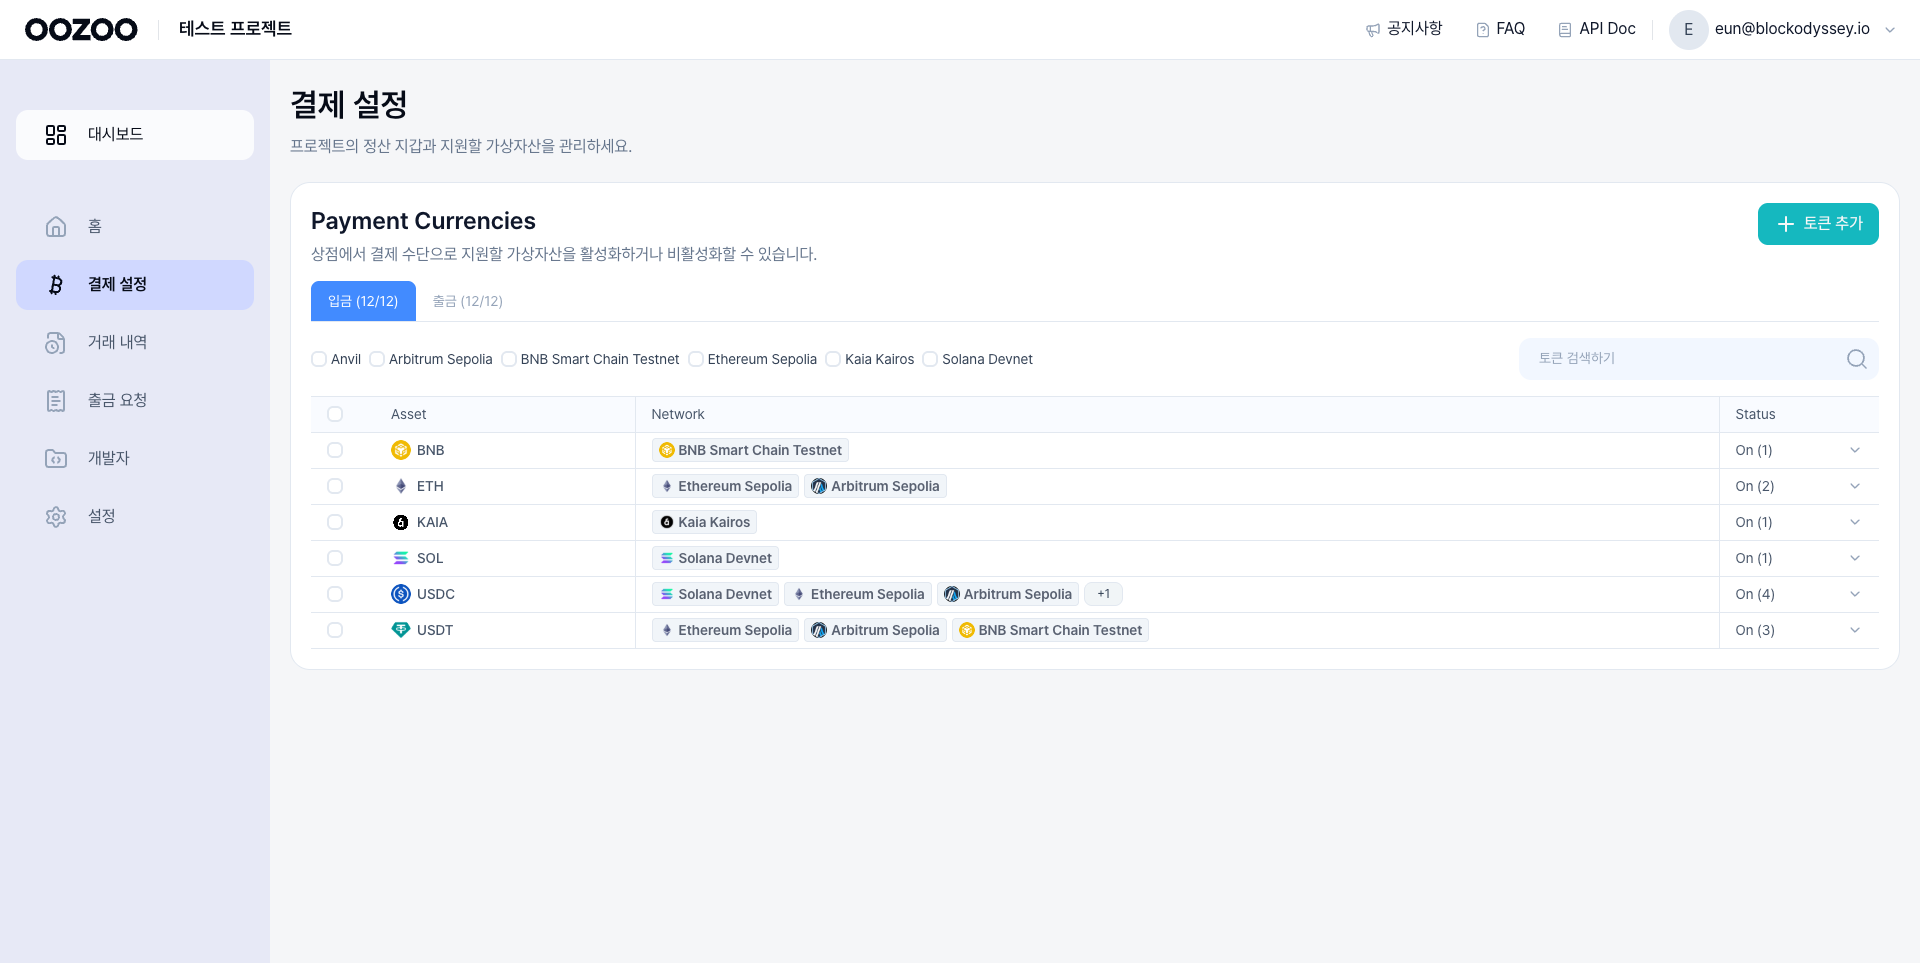
Toggle individual tokens via the Status switch on the right.
Next: Wallet Setup →