5. Test the Payment Flow
5-1. Call SDK pay()
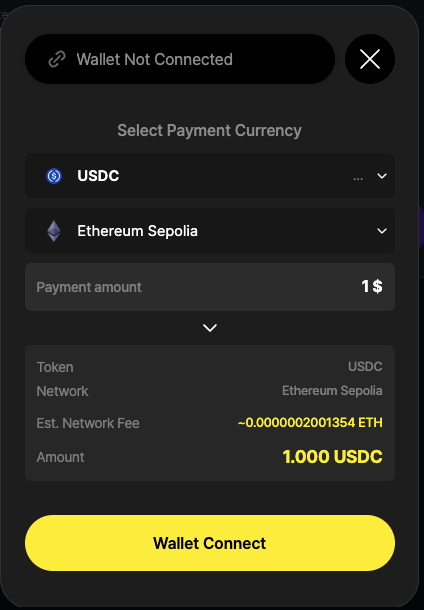
Calling client.pay({...}) from your merchant page opens the OozooPay overlay. Token and network are auto-selected; the overlay is now waiting for wallet connection.
await client.pay({
  price: 1,
  unit: 'usd',
  successUrl: '/payment/success',
  failUrl: '/payment/fail',
  onCreateInvoice: async (params) => {
    const res = await fetch('/api/create-invoice', { method: 'POST', body: JSON.stringify(params) });
    const { invoiceId } = await res.json();
    return invoiceId;
  },
});
5-2. Pick a Wallet
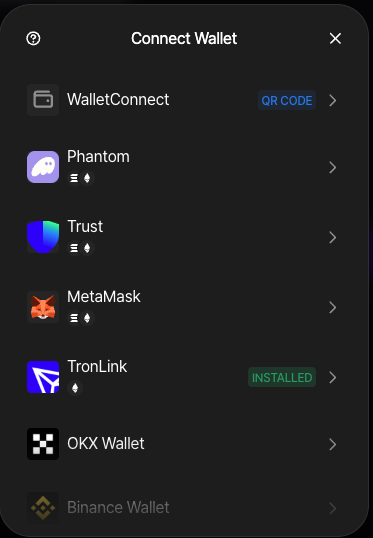
Hit Wallet Connect and a wallet list appears. Pick MetaMask for EVM, Phantom for Solana, etc.
5-3. Approve the Connection
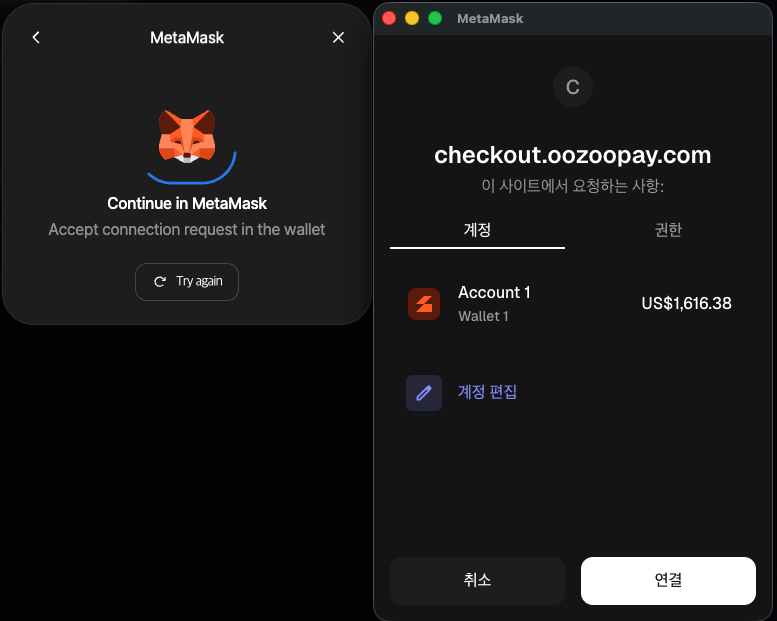
The selected wallet (e.g. MetaMask) shows its connection request popup. Choose an account and hit Connect to link it with the checkout.
5-4. Verify and Pay
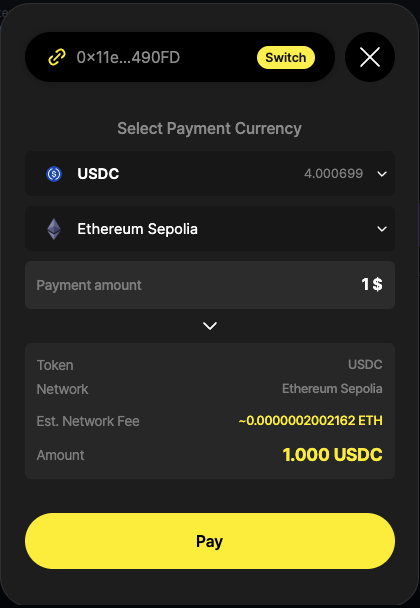
Once connected, the overlay shows the connected address (0x...) and balance. Re-check token / network / amount / fee, then click Pay.
5-5. Confirm the Transaction
The wallet (MetaMask) opens a transaction request popup. Review the fees and hit Confirm. (For ERC-20 tokens, an additional approve transaction may appear on the very first payment.)
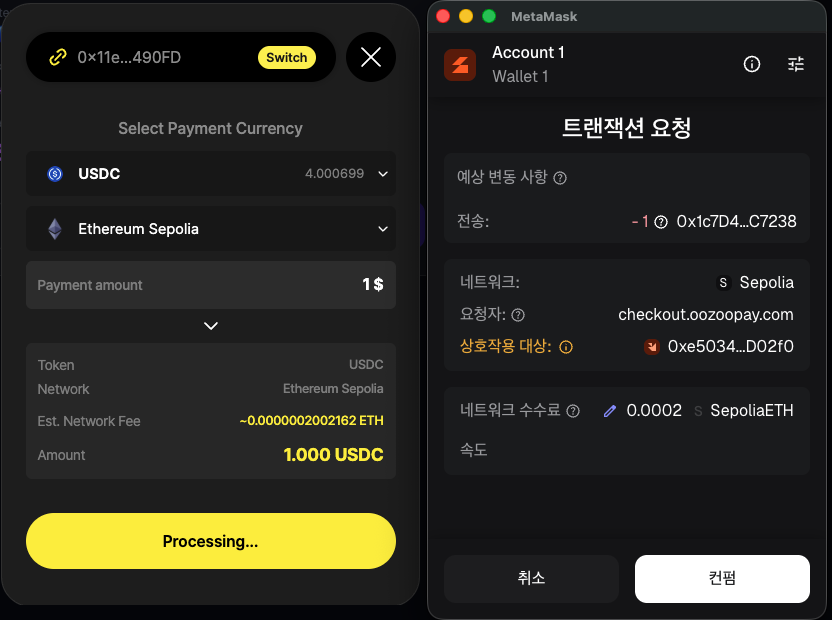
5-6. On-chain Confirmation → Redirect
Once the chain confirms (seconds to ~1 minute), the browser auto-redirects to your successUrl and your server receives the invoice.confirmed webhook to finalize the order.
Next: Verify the Result →